Guide to shooting with the Olympus E-PL7
October 27th, 2014
Guide to shooting with the Olympus E-PL7
The new Olympus E-PL7 offers some nice improvements from its predecessor, the Olympus E-PL5. These PEN cameras are the perfect options for those looking to get better image quality than you find in the compact cameras with smaller sensors and fixed lenses. Paired with the Olympus underwater housings they offer an easy to use, high quality camera kit without emptying your wallet.
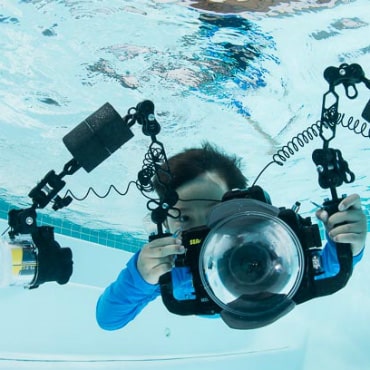
Last weekend we took the Olympus E-PL7 camera and housing out to test it underwater and see if it lived up to the quality PEN name, and to see how the new changes in the camera and housing faired underwater. All in all it worked excellently.
Read our full review on the E-PL7 Camera & Housing.
Olympus PEN E-PL7 Specs:
- 16MP Sensor (Same as E-PL5)
- Improved TruPic VII Processor (better than E-PL5, same as the OM-D E-M10)
- 1/250th sync speed (same as E-PL5, better than the OM-D E-M1)
- ISO LOW for ISO 100 support - the E-PL5 lowest ISO was ISO 200
- Single control wheel for settings changes
- Improved Tilting LCD screen (flips down 180 degrees)
- 3 axis image stabilization (vs E-PL5 dual-axis - which is also now used for video)
- 24Mbps bit rate for video, vs 20Mbps on E-PL5
- 81 auto-focus points vs 35 auto focus points on E-PL5
- Wireless support
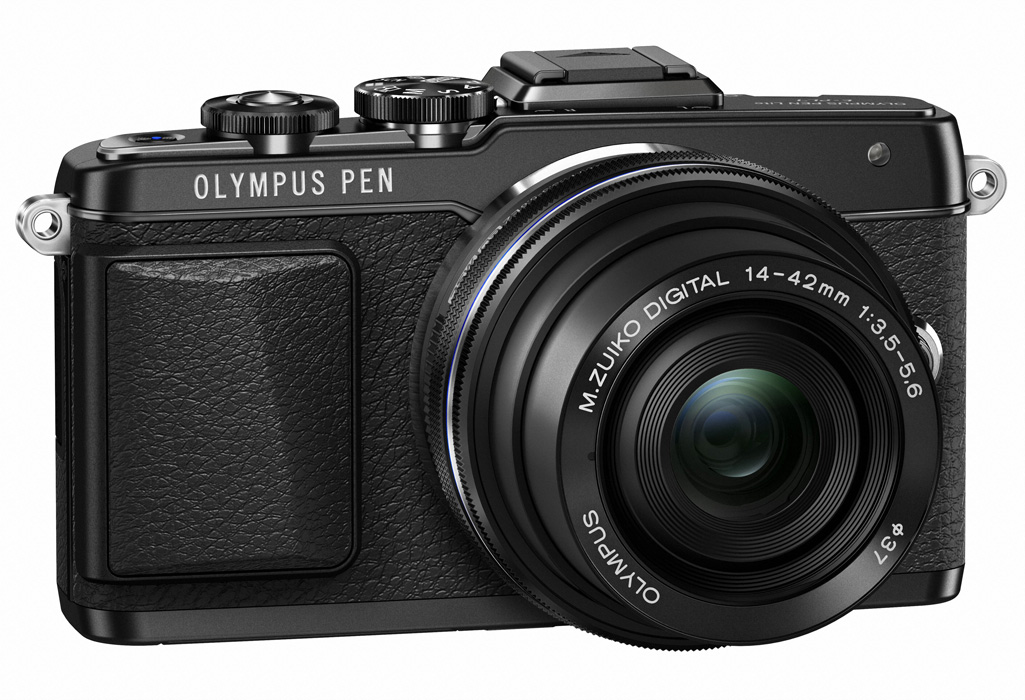
Overall the Olympus E-PL7 looks and functions similarly to the previous PEN cameras. It utilizes an accessory flash that is a bit smaller than previous models and a redesigned tilting LCD that flips down 180 degrees for those "Selfie" shots. The camera features a much nicer finger grip than previous Olympus PEN camera and has a vintage look with a faux leather detailing.
Olympus PT-EP12 Underwater Housing:
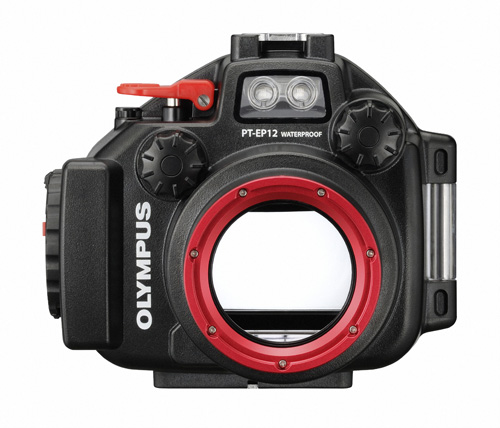
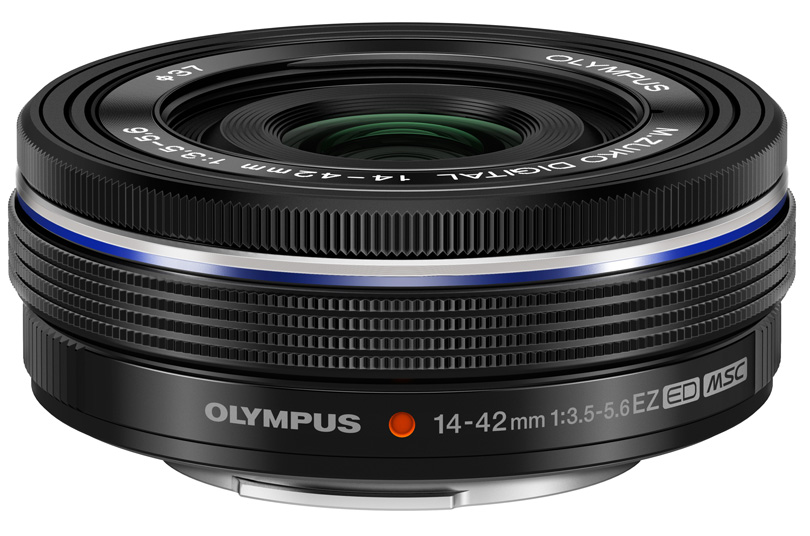
At first glance you can see that some major changes have been made to the new Olympus PT-EP12 housing for the E-PL7 camera. The housing is much smaller, especially the port. A redesigned standard port is now designed for the Olympus 14-42mm EZ lens, a flat pancake style lens that features a smooth electronic zoom. No zoom gear means that you have to utilize the Olympus UW zoom controls - WIDE / TELE - which automatically zoom the camera from 14mm to 42mm and back with the touch of a button. Unfortuntely in addition to zooming these modes also override any current camera settings and reset them to the default ISO Auto, P Mode, Fill-In Flash and the UW White Balance.
The housing latch has changed and takes a bit more practice to make opening the housing quick and easy, though they also included a lock feature which adds security. As always buttons are tiered and well labeled to make the housing enjoyable to use.
Best Lenses for Underwater with the Olympus E-PL7:
With the E-PL7 underwater you can choose just about all of the micro four-thirds lenses to shoot with, though some work better than others. Here are our top picks and why.
Panasonic 8mm Fisheye - this is the go to lens for wide angle, super sharp with an incredible 180 degree field of view you can easily create beautiful sweeping reef scenes, and photograph large subject. One caveat - is you have to get close. This lens is perfect for close focus wide angle shooting, wrecks, large animals you can get close to and all manner of landscape / reef shots.
Use the 8mm Fisheye Lens with either the Precision 4" Acrylic Dome, or Zen 4" Glass Dome.

Scallops on the Rigs - Olympus E-PL7, Panasonic 8mm, ISO200, F4, 1/60
Olympus 9-18mm - For those who want a little bit more flexibility, or desire a rectinlinear (non-fisheye) lens, this is a great choice for wide angle. 100 degrees field of view at 9mm allows you to take great landscape and reef shots. The flexibility to zoom in to 18mm (60 degree field of view), makes this a great option for when you can't get close to your subjects. This is also a great option for those who want to be able to zoom in and out and have some flexibility in thier lenses.
Use the 9-18mm with the Zen Wide Angle port and Olympus Zoom Gear.
Olympus 60mm Macro - This is our top pic for macro lenses. Very quick to focus, with minimal hunting it offers a great 1:1 macro, and the long focal length means you get great magnification, this is perfect for macro and super macro as well as fish portraits (smaller to medium fish).
To use the 60mm Macro Lens you need the Zen FP-100 Macro Port and the Zen Extension Ring for Olympus.
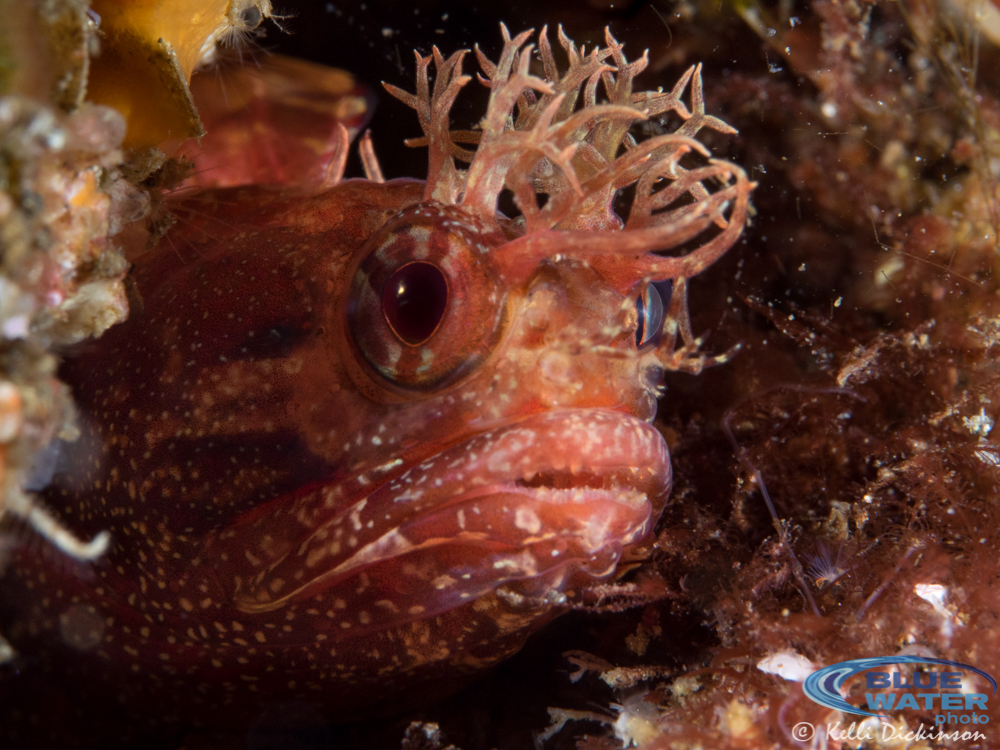
Olympus 60mm Macro, ISO 200 F13, 1/250th
Another great option for macro if you want a little more flexibility is the Panasonic 45mm Macro. This lens is much more expensive than the 60mm, but at 45mm you can shoot some larger subjects without having to be as far away. Both lenses are great options for macro.
To use the Panasonic 45mm Macro you need the Zen FP-100 Macro Port.
Olympus 14-42mm EZ Lens - The standard port that comes with the housing is designed for this lens. You have to use it in conjunction with the Olympus Underwater Modes. These allow the lens to zoom from 14mm to 42mm, however they also override whatever settings are on the camera to their mode defaults. We recommend using this lens only if you plan to shoot without an external flash, or want to primarily use all auto modes.
The Olympus 14-42mm EZ Lens works with the standard port that comes with the housing. No additional ports are required.
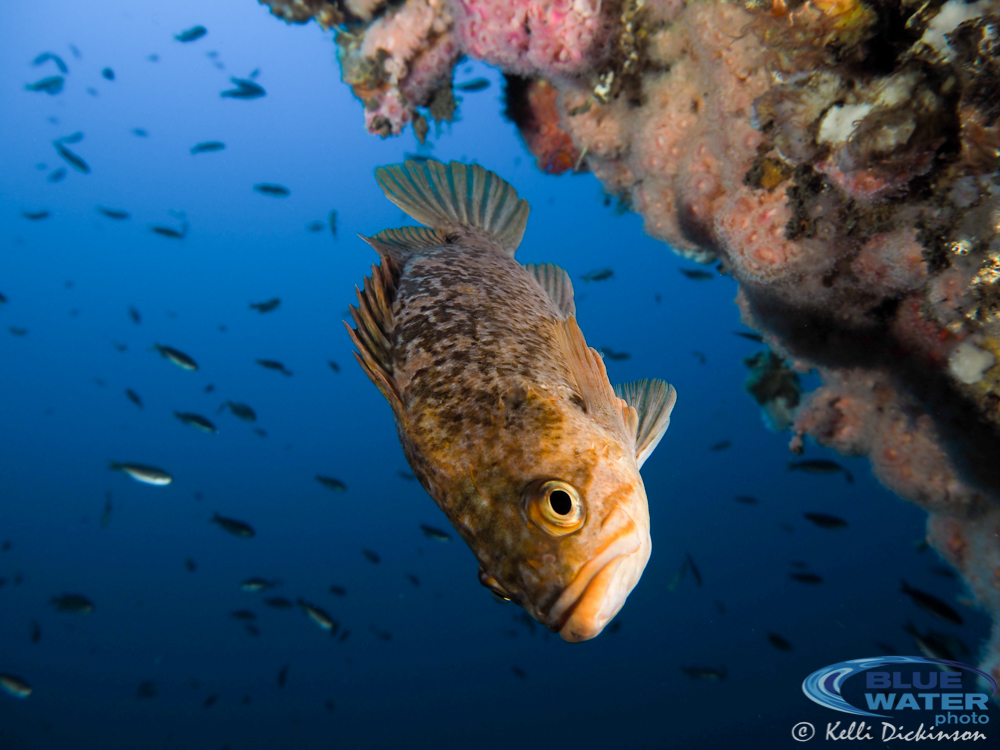
E-PL7, 14-42mm EZ Lens @ 14mm ISO 100, F5, 1/200th
Important Camera Settings:
There are several basic settings that you have to activate or set in order to get the most out of your E-PL7. For a comprehensive overview of the E-PL7 settings, read this article.
First turn the camera on and hit menu. (To disable the pop-up instructions click "Info" once).
Enable the Custom Menus:
Menu -> Set Up Menu (Wrench icon) -> Menu Display and click OK. The Custom Menu is the small cogs icon, hit the right button, and then the down button followed by ok to activate this menu.
Turn on Live View Boost:
This is very important so that you can see your LCD underwater. This mode disables the live view of exposure settings, since shooting underwater with a strobe, usually results in dark settings in the camera. This function will brighten your LCD so it is always at a good viewing brightness. Note: the LCD does not accurately reflect the exposure settings for the camera.
Custom Menu -> D: Disp/PC -> Live View Boost -> On
Enable the Underwater Mode Controls:
If you plan to use the Olympus 14-42mm EZ lens (or 12-50mm with a third party port) then you will need to activate the underwater mode controls in order to zoom the lens from wide to telephoto. These controls also change settings in the camera (see above) so be ready for that, or plan to use different lenses. To activate the UW modes you need to assign them to the Fn button
Custom Menu -> B: Button/Dial -> Button Function -> Fn Function -> Switches between (3 fish / 1 fish) -> OK
After completing these three steps your camera is ready to be used underwater. There are several other settings that can be useful to UW shooting, check out our full settings guide for those.
Camera Settings - Where to Start:
For either wide angle or macro there is usually a base setting that I will start with on the camera when I hit the water. This allows me to quickly fine tune the settings based on the actual conditions quickly and begin shooting sooner. These settings work best with the dedicated wide and macro lenses and are meant for those shooting manual with external strobes. For more settings information read this article.
- Macro - F18, 1/250, ISO 200* - with macro you typically want to shoot at the higher F stops for the best depth of field, F18-22 is where I typically am. To block all ambient light its easiest by putting the camera at the max sync speed, and keep the ISO as low as possible. *I don't use the ISO LOW option which simulates ISO100, as it is not a true setting, but more of a software manipulation to offer an extended ISO setting. The best quality is still at ISO200.
- Wide - F8, 1/125, ISO 200 - as I am typically shooting in Southern California, where we often have darker seas and lower visibility, I start with a slower shutter speed to guage the background exposure. Once down I will do a quick series of test shots (the joy of digital!) and adjust my shutter speed, and aperature if needed. I try not to bump up the ISO, but if needed theE-PL7 handles higher ISO's well, remember the higher you go, the more grain you will see.
For shooting in brighter, clear tropical waters, I would recommend starting around F8, 1/250. The brighter sun will require the faster shutter speed in order to capture those nice sunball shots.
Shooting Underwater with the Olympus 14-42mm EZ Lens:
We recommend using this lens primarily if you prefer to shoot in an Auto mode (like P), and plan to just use a single lens, possibly paired with a wet wide or macro lens. The simplicity of the 14-42mm EZ lens is great for those looking for a high quality system that is easy to use without having to dig into manual controls and adjustments. Use alone or with external strobes set to TTL and you've got a nice system without feeling overwhelmed.
If you want to use this lens and shoot in Manual all you need to do is quickly change the mode back and forth, assuming you're already in Manual mode just click out and back into Manual. All the settings will revert back to what you have set for Manual mode (ISO & White Balance, Aperature & Shutter Speed) and you're good to go. This takes only a couple seconds to complete.
Fine Tune Your Setup:
There are many great accessories you can add to the Olympus E-PL7 camera and housing to really excel with underwater photography and to make your shooting experience more enjoyable. Here are a couple suggestions.
- Add a Strobe: External lighting is the best way to bring back the color lost at depth underwater and add contrast and shadows to the images. When you control your lighting you have better control over the final results of your photographs.
- Make Your System Neutral: Accessories that add buoyancy to your rig such as the Stix Floats, BTS Floats and Nauticam Carbon Fiber Arms are designed to aid you in brining your camera system as close to neutrally buoyant as possible so that it feels comfortable underwater. In addition a neutral rig will not sink as fast if dropped allowing for more time to recover it!
- Flip Out Your Macro Lens: The iDas Flip adapter screws into the 67mm threads on the Olympus standard port included with the housing, or on the Zen FP-100 port if using the 60mm macro lens. These allow you to screw in your macro lens to the adapter and then flip it on and off the front of the port with ease. No more will you have to find a place to store the lens when not using it!
- Secure Your Rig: Never worry about dropping your housing again when its secured to your BCD. The Cetacea lanyard allows you to keep it secured to your BCD at all times and clip it off short when not shooting. Use the BTS Beach Diving Straps with their dual tray set up for a secure and level way of keep your kit secured to you and your hands free for beach entries and exits.